Import subject demographic data
In this section, we cover how to load information about subjects into the data repository from spreadsheets. Before we begin, I'd like to make two important notes:- When you import data from spreadsheets, first ensure that all the header rows and unnecessary columns are stripped out. We suggest that you make a copy of your spreadsheet and then use the edited version of the copy in the importing process.
- If you add another case study, add another line to your file and import data again. CST will overwrite any demographic data about subjects and will create new entries in the database to accommodate new subject records.
-
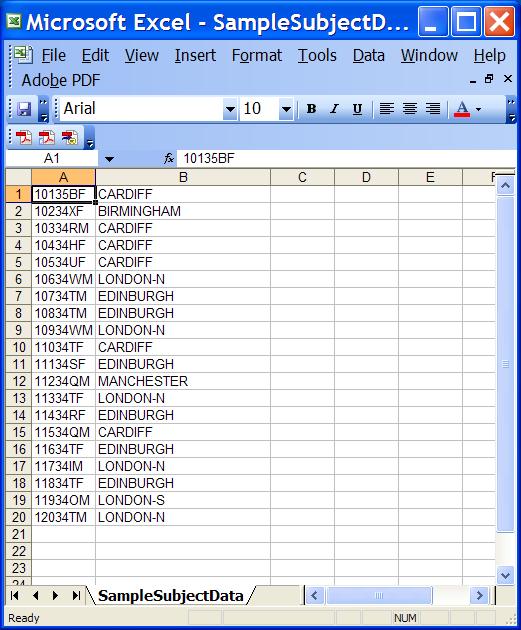
We will begin by loading up a Microsoft Excel spreadsheet containing two columns.
It is a file that comes with the software release. Please open the file
./doc/sample_files/SampleSubjectData.xlswith Microsoft Excel.The first column shows the unique study number assigned to each case study. The second column is a demographic field indicating the general area where a case study member lives. In the study, each area is associated with a particular hospital. Location will be advertised as a filtering option in the Logging Tool, to help logging curators to quickly view different groups of case studies.
We would expect that you might edit the spreadsheet by hand. You may also have imported a query result from a database that manages these two data fields for case studies.
-
Save the spreadsheet as a tab-delimited text file. Press the "File" menu. Press "Save As..."
Make sure you specify the
Text(Tab delimited) (*.txt)file format option when you export the file.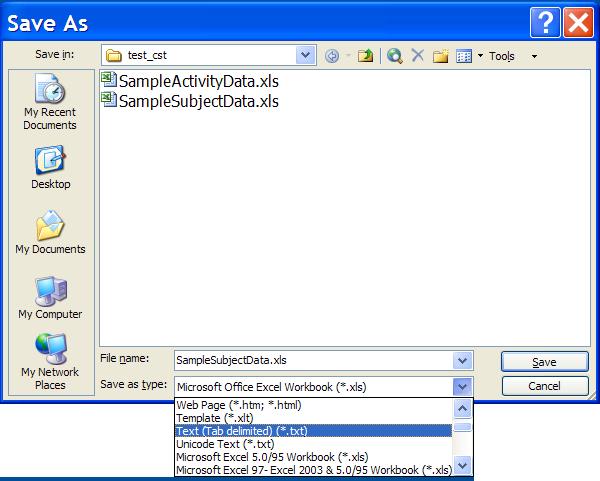
-
Now take a look at the file.
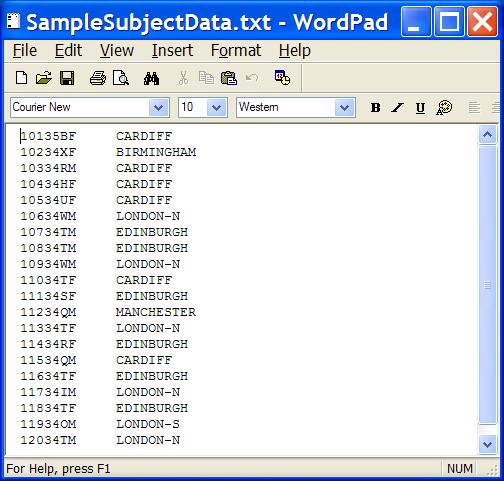
Note that this text file also comes with the release. We will use it in the next step. We have now created a data file that CST can import. Run the Administration Tool by double-clicking the file
run_admin_tool.batwhich appears in your release directory. -
Press the "Import Subject Demographic Data..." button in the Administration Tool.

-
You should see the dialog below. This dialog asks you to specify the text data file you
want to import and the kind of character (usually a tab) which separates columns. In this
example, choose the file
./doc/sample_files/SampleSubjectData.txt. Note that in the screenshot we loaded it from some other directory (don't worry!).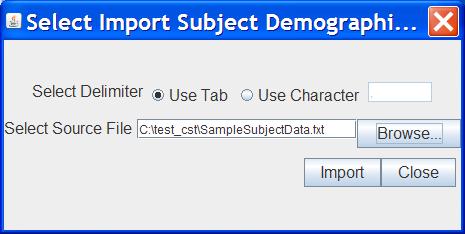
-
Press "Import". Now you will see a dialog which asks you to help specify the first
line of data. We recommend that your text data files contain no header rows and start
with data on the first line.

-
Press "Next". You should see the dialog below. This form prompts you to associate
columns in the data file with either the identifier field or a demographic field
specified in the configuration file.

For example, we will associate the first column with the unique identifier field HNR, and the second column with the demographic field called "Location". Remember that all the fields which are imported for subject data are treated as text. If a column had "Yes"/"No" answers or a number, CST would interpret the columns as text and not some special data type like an integer.
To associate a column with a subject field in CST, move the mouse pointer to a column header and press and hold down the right mouse key. You should see a pop-up menu with choices "HNR" and "Location". Try this task by right-clicking on the first column header marked "Unknown". The pop-up menu will show the unique subject identifier field in red. Choose "HNR" for the first column. Now right-click over the "Unknown" header in the second column. Choose "Location".
You may only associate one column with one field in CST.

-
Press "Import". CST will ask you to wait.
-
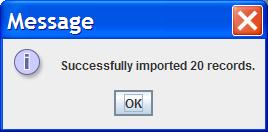
If CST encounters errors in your data file, it will ask you to save an
error report. If the application encounters no errors, you should
see a dialog such as the one below:
Author: Kevin Garwood
(c)2010 Medical Research Council. Licensed under Apache 2.0.
